Protect Your Camera on Winter Hikes: Field‑Tested Tips

Chosen theme: Tips for Protecting Camera Equipment During Winter Hikes. Step into the snow with confidence as we share real-world strategies, small rituals, and trail-proven habits that keep your gear safe, dry, and ready to capture crisp winter magic. Subscribe and tell us your favorite cold-weather hack!

Build a weatherproof outer shell

Use a weather-sealed backpack with a roll-top closure and an integrated rain cover; snow creeps through zippers surprisingly fast. Add padded cubes inside so lenses don’t rattle. After one whiteout in Montana, I learned a tight outer shell prevents slush from wicking inward during long, windy traverses.

Desiccants and dry bags are your quiet bodyguards

Double-bag your camera and extra lenses in lightweight dry sacks, then toss in fresh silica gel packs. Hiker Luka messaged us saying this combo saved his mirrorless after hours of wet spindrift. Refresh desiccants after each trip, and never pack damp cloths that can trap sneaky moisture beside your gear.

Fast access without full exposure

A chest pouch or holster keeps your primary body accessible while minimizing time your bag stays open to blowing snow. Pre-stage one lens and one microfiber cloth so you can grab, shoot, and reseal quickly. What’s your fastest-access setup when the wind howls and fingers stiffen? Tell us your configuration.

The zip‑top acclimatization trick

Before going indoors, seal your cold camera and lenses inside large zip-top bags. Warm air condenses on the bag, not the gear. Let everything sit until temperatures equalize, then unseal slowly. This habit saved my viewfinder after a steamy cabin stop where fog would have soaked every crevice.

Stop fog at the lens

Use a lens hood to shield from breath and snow, and avoid exhaling toward the front element. Keep anti-fog wipes rated safe for optical coatings in an inner pocket. In blowing powder, angle your body as a windbreak, then clean gently with a blower before touching glass with microfiber.

Drying protocol after snow

Brush off snow with a soft paintbrush or blower before it melts into water. Pat, don’t rub, with a dry microfiber. Open battery doors and card slots only after the exterior is completely dry. Then air the bag at home with fresh silica packs. Share your drying timeline below.

Protect the front element wisely

A quality protective filter plus a deep hood deflects sleet and flung crystals. In extreme cold, avoid cheap glass that can crack from thermal stress. After a sleety ridge walk, my hood kept pellets off the filter, letting me clean once instead of scrubbing between every frame in biting wind.

Covers you can trust (and hack)

Dedicated rain covers work, but a clear shower cap around the camera and lens barrel is a surprisingly effective backup. Secure with a soft rubber band, leaving controls reachable. Keep a spare in your pocket; they weigh nothing. Got a clever DIY cover idea? Share your field-tested tweaks.

Guard the tiny openings

Tape over unused ports with camera-friendly gaffer tape, not duct tape that leaves residue. Close accessory doors firmly before snowfall and check them regularly. Use a small brush to clear packed snow from dials. Readers in Hokkaido swear by periodic button checks every mile. What’s your cadence out there?

Carry and Handle Like a Winter Pro

Wrap tripod legs with foam to prevent skin contact on metal and reduce conductive heat loss. Spiked feet bite into ice better than rubber. Extend thicker sections first for stability, and brush off road salt afterward. Share your favorite leg wraps and why you trust them on wind-scoured ridgelines.

Carry and Handle Like a Winter Pro

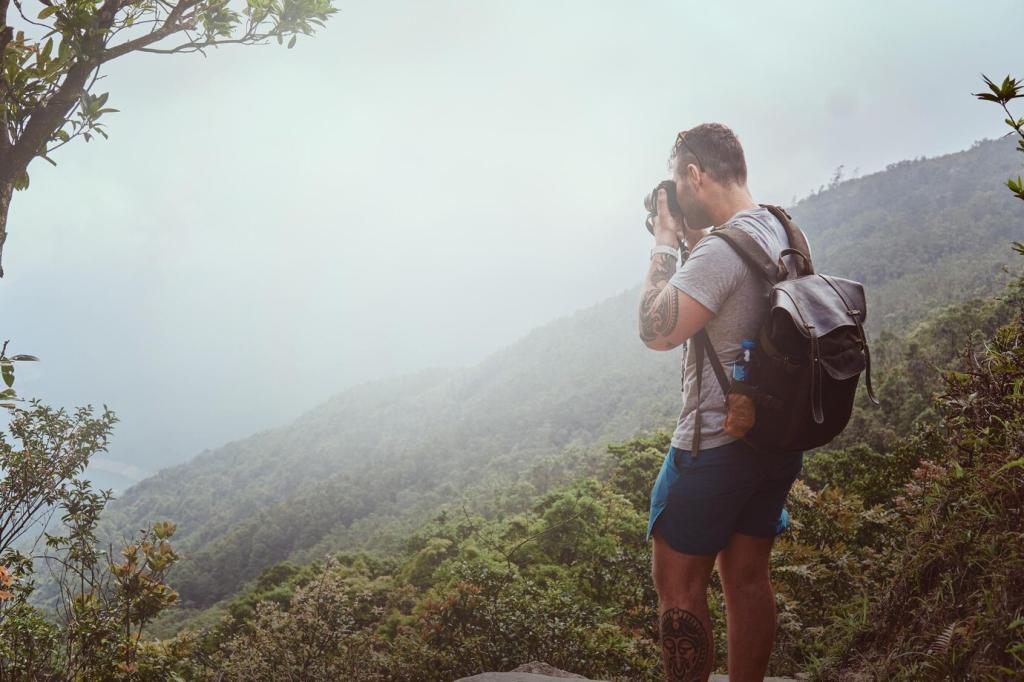
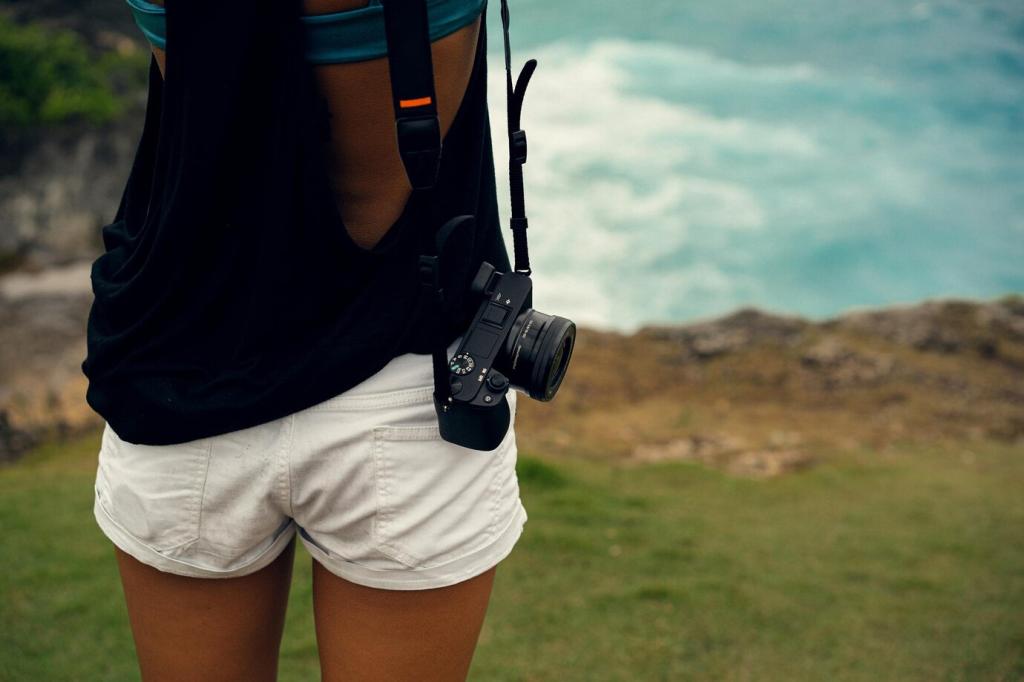
Run a cross-body strap beneath your shell to keep the camera close to warmth and out of blowing snow. Clip into a chest mount or capture clip for security on scrambles. Minimizing swing protects lens mounts from jolts. Do you thread straps differently over packs? Show your setup photos.

Carry and Handle Like a Winter Pro

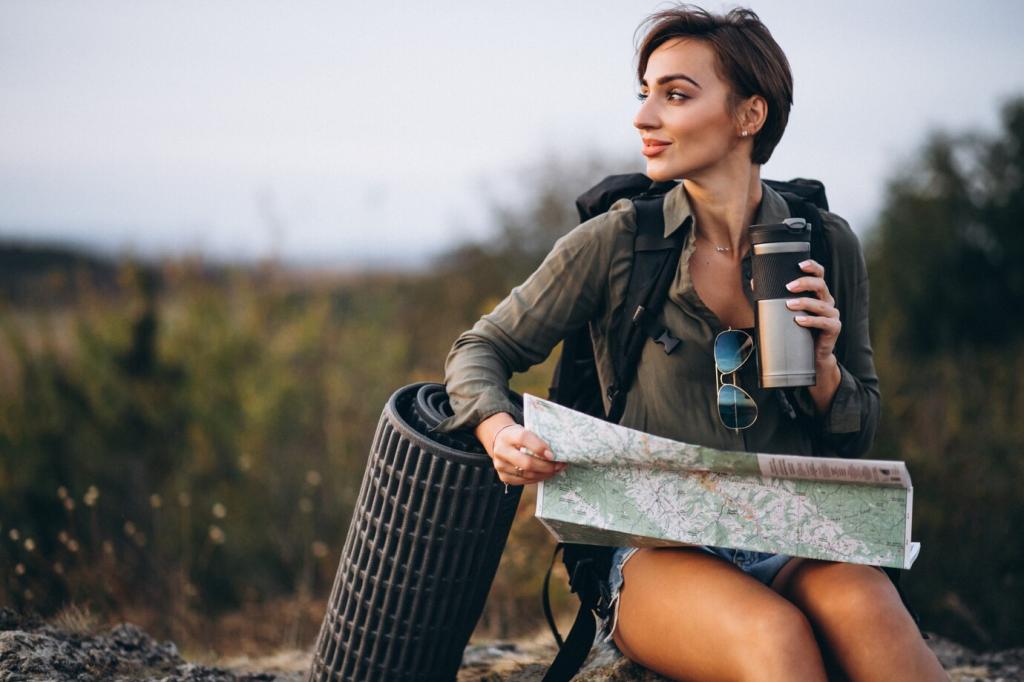
Use thin liner gloves for dexterity under insulated shells. Add heat packs near wrist arteries, not on fingertips, for safer warmth. Tactile stickers on key dials help adjust settings without removing gloves. What glove combo lets you change batteries fast at ten below? Drop your recommendations for others.

Trail Habits That Save Gear

01

Prepare before you step out

Check the forecast for wind chill, not just temperature. Choose one versatile lens to reduce swaps, and pre-set ISO and exposure compensation. Pack a small brush, extra microfiber, and spare dry bags. What’s on your pre-hike checklist that prevents mistakes when the snow starts driving sideways?
02

On‑trail discipline

Open your bag with the zipper facing downwind and shield it with your body. Avoid lens changes in spindrift; duck behind trees or a boulder. Knock snow off gear frequently before it melts. Share your on-trail rhythm—how often do you pause for quick maintenance during long, frigid climbs?
03

Rescue plan for wet gear

If your camera gets soaked, power down immediately, remove the battery and card, and pat dry. Seal in a ventilated container with fresh desiccants—rice is less effective. Wait at least twenty-four hours before testing. Have you tried portable dehumidifier boxes? Post your results to help fellow hikers.
Nishaantishu
Privacy Overview

This website uses cookies so that we can provide you with the best user experience possible. Cookie information is stored in your browser and performs functions such as recognising you when you return to our website and helping our team to understand which sections of the website you find most interesting and useful.